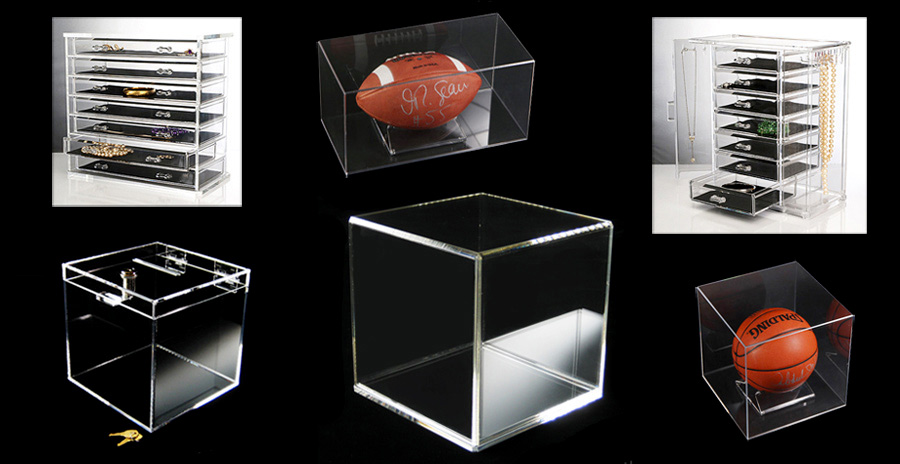
As most of us know, Perspex is a popular brand of acrylic often used in projects involving plastic fabrication. Unlike regular glass that can break into sharp shards if dropped, Perspex sheets are designed to withstand impact and be shatter resistant. Some common applications of this high quality polymethyl methacrylate in Sydney include display cases, solar panels and interior window panes. In this blog, we shall see how Perspex is used for constructing a simple exhibition box.
The foremost step towards building a Perspex box involves obtaining the correct supplies : a narrow sheet of the material, acrylic glue, a drill, a hinge kit and clamps. The size of the sheet depends entirely on that of the required box. In case of a simple memorabilia box, it is determined by multiplying the breadth of one side of the box with the length. After that, the result is multiplied by total number of sides. The final outcome is the amount of Perspex required for the project.
While building an exhibition box that would have a lid, holes must be drilled into the sheet at suitable points for installing hinge screws. The drilling process generally necessitates a professional to exercise extreme caution, otherwise the sheet can get cracked. Usually a drill bit having 60 degree tip and lubricated with oil is used for ensuring a fine outcome.
During the process of cutting, some unevenness may be created on the sides. The faint waves from the saw used can prevent the creation of a seal that fits smoothly. In that case, the edges are smoothened to be flat with the help of a belt sander having fine-grit sandpaper. After that, acrylic glue is applied to the edge of one piece and another piece is attached to it. Each corner is clamped to keep it from moving while the glue dries. The same process is repeated on the other sides until the box has got ready.
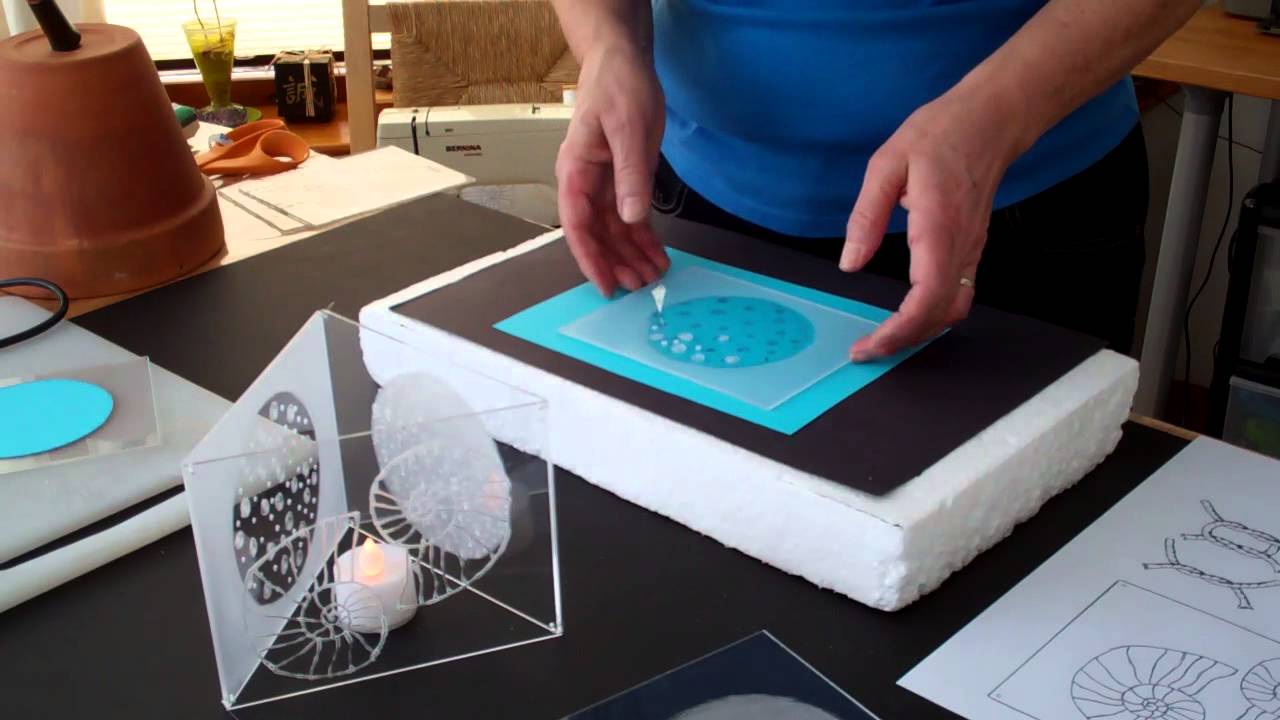
Some plastic fabrication companies decorate Perspex boxes for aesthetic or promotional reasons by etching a date, company logo, special quote, sentimental marking, etc. Usually, a stencil is prepared of the desired words or image and stuck to that side of the box which needs to be etched. After that, a cordless dremel tool is employed for engraving by following the lines of the stencil carefully in a downward motion. Once done, the surface of the box is wiped using rubbing alcohol for removing debris or dust after the stencil has been taken off.


Comments
Post a Comment